When you buy a knife from the factory, the edges are usually very sharp. The knife goes through the food very easily. But after using it for some time, the edge starts to lose sharpness, and it becomes difficult to cut the food. Some people consider buying a new knife this time.
But this is not what you should do because there is a way to save money. Using the Sharpening tool you can get a sharpened edge again.
There is a right process to use the sharpening rod. And if you do not know the right process then there might be chances of accidents. So knowing the right steps and process is necessary.
Here, you would learn how to use a sharpening rod only in 4 easy steps. You may also like some of the Belt Buckle Knife from our list, so take a moment to check them out.
What is Sharpening Rod
Before moving to the use of the rod, let’s know what is the purpose of it. A sharpening rod is a steel, ceramic, or diamond-coated steel rod that is used to realign blade edges.
They have flat, oval, or spherical cross-sections and can grow to be up to 30 cm long. Steel and ceramic honing steels may feature longitudinal ridges, whereas diamond-coated steels are smooth yet contain abrasive diamond particles embedded in them. For more amazing products like this, check out our guide to the Knife Lanyard.
Why Use a Sharpening Rod
A sharpening steel is used for two purposes: One advantage is that it smooths down the rough edge on a blade after sharpening it on a whetstone. And two, it helps revitalize that edge after a long period of cutting, slicing, or chopping.
You’ve probably seen people on TV whip their knives back and forth on knife steel at breakneck speed. And, as you might expect, they’re just showing off. There’s no reason to do it that quickly, and if you do, you could cut yourself. The safest technique to use knife steel, in fact, does not entail having the knife-edge towards you at all. You may also be interested in some of the Tracker Knife from our list.
How to Use a Sharpening Rod

With the following 4 steps you can learn “How to Use a Sharpening Rod”
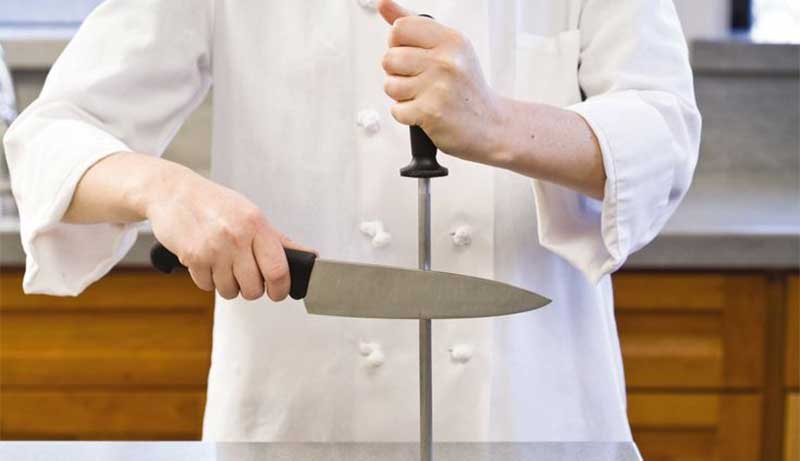
Step 1: Hold in the Right Angle
Honing at the proper angle is essential: If the angle is too broad, the blade will be dulled. With your non-dominant hand, grasp the handle of the honing steel and place the tip straight down onto a cutting board.
Place the heel of the knife at a 20-degree angle against the top of the honing steel. Holding the knife perpendicular to the honing steel, then reducing the angle by half, which is around a 45-degree angle, then reducing the angle by half again, is a method for estimating the right angle.
Step 2: Put the Right Pressure
With mild to medium pressure. Do not put too much pressure on it. Then draw the knife lightly down the steel and towards the tip of the blade. Accuracy is more vital than speed, so take your time to maintain a steady angle of the blade to the steel.
Step 3: Hone the Knife
Maintaining that angle, drag the knife down the whole length of the honing steel, using mild pressure and drawing over the entire length of the knife blade. You have to do this until the two tips meet which means the tip of the knife and the tip of the honing steel.
Make careful you utilize slow, steady strokes: The knife’s edge can be damaged by blunt force and speed. Repeat on both sides until the blade is sharpened, about three to five strokes on each side.
Step 4: Check the Knife
Your knife should be completely sharpened at this point. To test, take a sheet of paper and try to cut through it from top to bottom. A sharp knife will cut the paper neatly without bending or destroying it first.
Final Words

What’s your thought? Can you use a sharpening rod now? You definitely would be able to do it from now on. The process is very easy and simple; also requires very little time. So whenever you feel that the chief is not doing their job properly, grab the sharpening rod and follow the steps.